Website creation on Wix.com
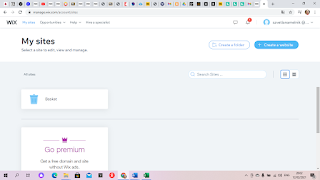
The process of creating a website at Wix.com. Selecting wix editor , then click 'Create a website'.
After choose a template.
I chose a photo template.
I leave only four: Home page, About me, Portfolio and Contact.
This is what the page About me looked like before editing.
Once again to change the text on the main page just click twice with the right key on the text and 'edit text' window pops up.
I changed the color from black to blue by clicking on the button 'change background'.
I replaced the photo on the main page by clicking on the background button second after the menu.
I also edited the contact page by changing the color and text. To incert a contact form , press the '+Add' button and selest 'The forms and links' - 'Contacts', then choose one of them. I have changed the design and color by clicking on the right mouse button.
To add social media use the same button '+ Add' - 'Social media'. Then select one shape, click on it and drag. Double click on the icons and enter the link.
Also copy this icon and put it at the bottom so that it appears on all pages.


Good seeing that you start working on that!
ReplyDeleteThis is a good start on your website creation. Instead of having one long blog post showing this process, I would advise you to create multiple blog post to show this process. Could you please make sure to change the language settings so that the text is in English? The design could be improved by having a more consistent colour palette.
ReplyDelete